Installing a custom theme on Shopify is a great way to give your store a unique look and feel. There are several different ways to install a custom theme, and in this article, we’ll walk you through the steps to get your new theme up and running.
1. Download Your Theme
The first step is to download the theme you want to install. Shopify has a wide variety of free and paid themes to choose from, and you can also purchase themes from third-party developers. Once you’ve selected the theme you want, simply download the .zip file to your computer.
2. Upload the Theme to Your Store
Once you’ve downloaded the theme, you’ll need to upload it to your store. To do this, log into your Shopify admin, and click on Online Store in the sidebar. Then, click on Themes and select Upload Theme. From there, you can select the .zip file you downloaded earlier and click Upload.
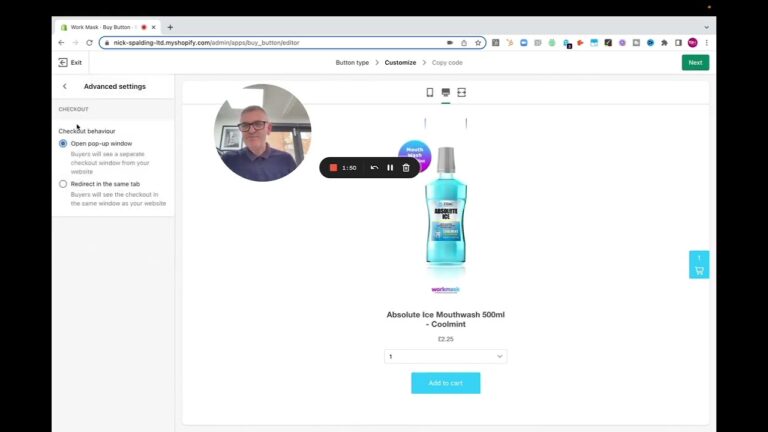
3. Customize Your Theme
Now that you’ve uploaded the theme, it’s time to customize it. To do this, select the theme from the Themes page and click Customize. This will open the theme editor, where you can adjust the colors, fonts, and layout of your store. You can also add new sections, such as a blog or an About Us page, and rearrange existing sections.
4. Preview and Publish Your Theme
Once you’ve finished customizing your theme, it’s time to preview it and make sure everything looks the way you want. To do this, click the Preview button at the top of the theme editor. This will open your store in a new window, where you can test out the new theme and make sure everything looks right.
Once you’re happy with the way the theme looks, click Publish to make it live on your store. That’s it! Your custom theme is now installed and ready to use.
Conclusion
Installing a custom theme on Shopify is a great way to give your store a unique look and feel. With a few simple steps, you can upload and customize your new theme, preview it, and make it live on your store.