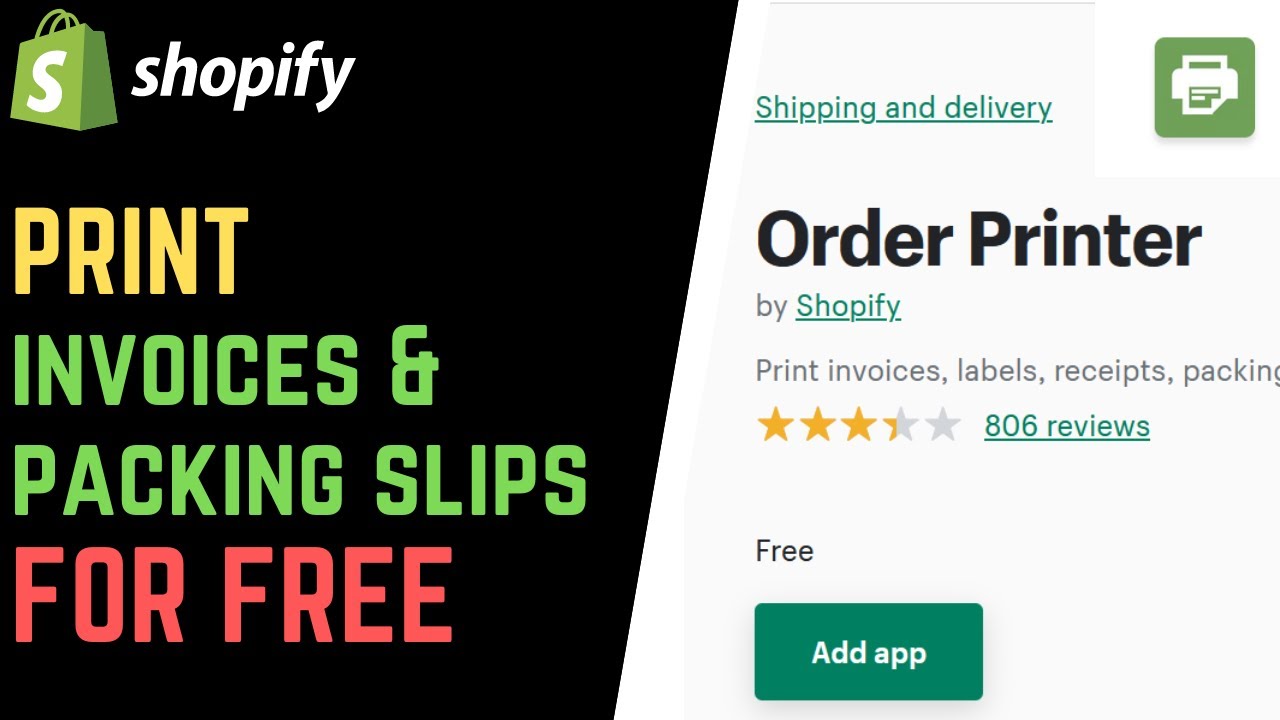
Shopify Order Printer is a powerful app that allows you to easily print packing slips and other shipping documents from your Shopify store. With the Order Printer app, you can quickly and easily print out packing slips and other documents for your orders, as well as create customized templates for your orders.
Steps to Install the Shopify Order Printer App
- Log in to your Shopify store and go to the Apps section.
- Click the Visit Shopify App Store button.
- Search for Order Printer.
- Click the Install button to install the app.
- Once the app is installed, click the View App button to open the app.
How to Use the Shopify Order Printer App to Print Packing Slips
- In the Order Printer app, click the Packing Slips tab.
- Choose the order that you want to print a packing slip for.
- Choose the Template that you want to use for your packing slip.
- Click the Print button to print the packing slip.
Customizing Packing Slips with the Order Printer App
You can also customize the packing slips that you print with the Order Printer app. To do this, you will need to create a custom template for your packing slips. You can create a custom template by clicking the Templates tab in the Order Printer app and then clicking the Create template button.
Adding Custom Fields to Your Template
Once you have created a template, you can add custom fields to it. To do this, click the Custom Fields tab in the template editor and then click the Add custom field button. You can then choose the type of field that you want to add and enter the field name and value.
Saving and Printing Your Template
Once you have finished customizing your template, you can save it and then use it to print packing slips. To do this, click the Save button in the template editor and then choose the order that you want to print the packing slip for. You can then click the Print button to print the packing slip.